To freeze okra whole, first, wash and dry the okra pods thoroughly. Place the whole pods in a single layer on a baking sheet and freeze until firm. Then transfer the frozen okra to a freezer-safe bag or container, remove any excess air, and seal tightly before returning to the freezer. Freezing okra is a great way to preserve its freshness and ensure you have a supply on hand throughout the year.
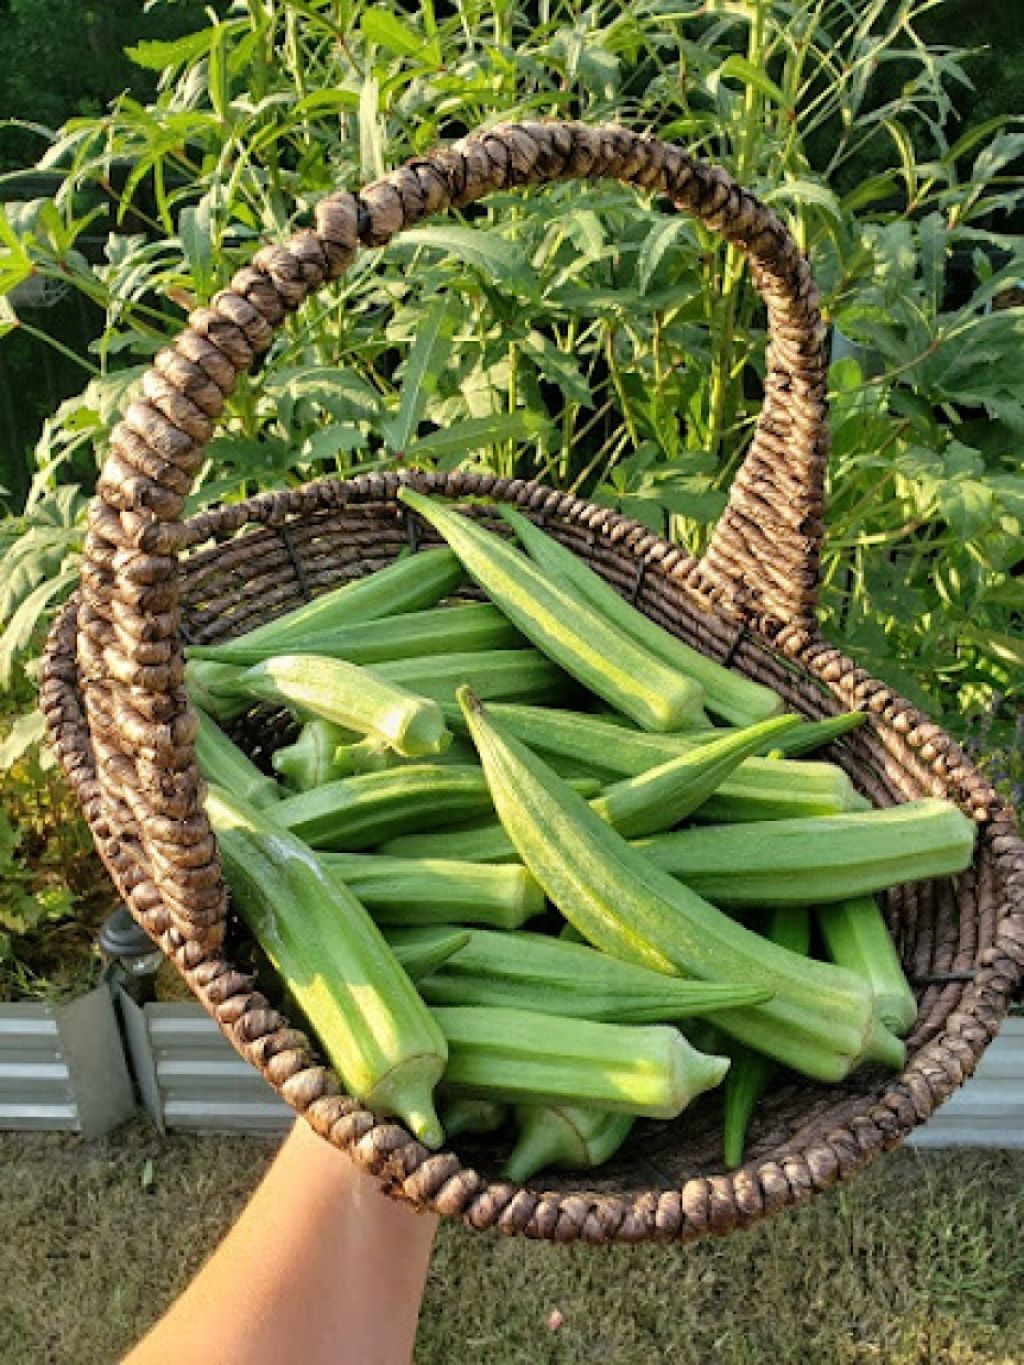
Whether you’re growing your okra or have a surplus from a farmers market, freezing whole okra is a simple and convenient method. As highlighted in Local Value Magazine, by following a few easy steps, you can freeze okra properly and maintain its quality for future use. We’ll guide you through the process of freezing okra whole, so you can enjoy this versatile vegetable whenever you want.
Preparing The Okra
Before freezing okra whole, it is important to properly prepare the vegetable to ensure it maintains its quality and taste. This involves cleaning the okra, trimming the ends, and slicing it. By following these simple steps, you can easily freeze okra and have it ready to use whenever you need it.
Cleaning The Okra
Start by rinsing the okra pods under cool, running water to remove any dirt or debris. Gently rub the pods with your hands to ensure all surfaces are clean.
- Use a clean cloth or paper towel to pat the okra dry. This helps prevent ice crystals from forming during the freezing process.
- Inspect the okra carefully and discard any pods that are bruised, damaged, or discolored.
Trimming And Slicing
Once the okra is clean, it’s time to trim the ends and slice it. Follow these steps:
- Take a sharp knife and trim the stem end of each okra pod. Removing the stem helps prevent the okra from becoming woody during freezing and storage.
- Similarly, trim the tip end of each pod. This ensures uniformity and enhances the visual appeal of the frozen okra.
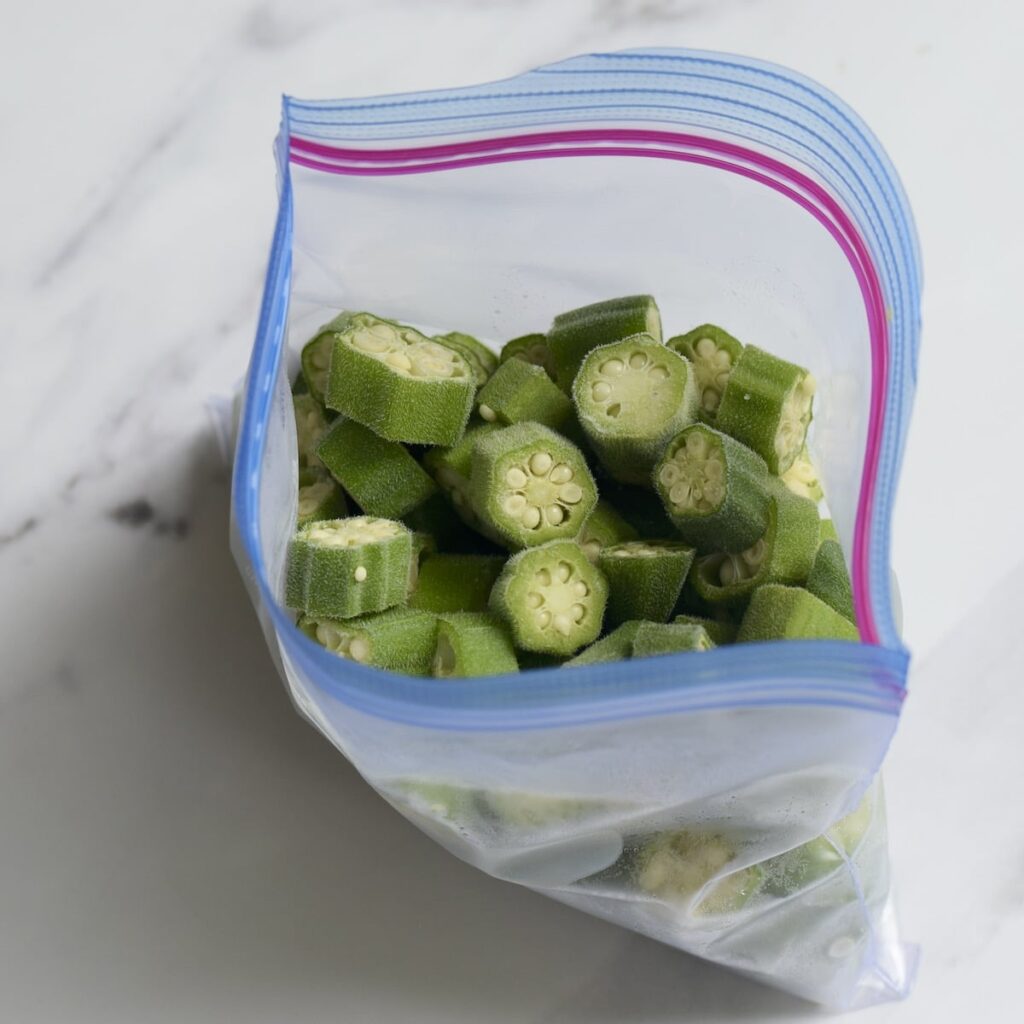
- If you prefer, you can leave the okra whole. However, for ease of use in recipes, you may consider slicing the pods into 1-inch pieces. This makes it easier to grab the desired amount of okra from the freezer without any hassle.
By following these simple steps, your okra will be well-prepared for freezing. Remember to keep the sliced or whole okra in an airtight container or freezer bag to prevent freezer burn. Now you’re ready to freeze your okra and have it available for all your future culinary adventures.
Blanching The Okra
Blanching, a key step in the process of how to freeze okra for frying, involves briefly cooking the okra in boiling water and then transferring it to an ice water bath. This process is crucial not only for retaining the vegetable’s color and flavor but also for killing any bacteria or enzymes that could cause spoilage. So, let’s dive into the two important steps of blanching: boiling water and ice water bath, which are essential for preparing okra to be frozen and used later in recipes like frying.
Boiling Water
Start by bringing a large pot of water to a rolling boil. For optimal results, fill the pot with approximately one gallon of water and place it on a high heat source, such as a stove burner or induction cooktop. Adding salt to the boiling water can help enhance the flavor of the okra.
Once the water reaches a vigorous boil, gently place the whole okra pods into the pot. It’s important to work in batches, ensuring that the okra is submerged completely in the boiling water. Overcrowding the pot can lead to uneven blanching and may result in less flavorful okra.
Allow the okra to boil for 3 to 4 minutes. Set a timer to ensure the timing is accurate. During this time, the boiling water will start to break down the enzymes present in the okra, which would otherwise cause the vegetable to deteriorate during freezing.
Ice Water Bath
After the allocated blanching time has passed, it’s time to transfer the okra to an ice water bath. Prepare a large bowl, preferably filled with ice water. The ice water bath helps halt the cooking process, preventing the okra from becoming overcooked and losing its crispness and vibrant green color.
Carefully remove the blanched okra from the boiling water using tongs or a slotted spoon and immediately transfer them to the ice water bath. The temperature contrast shocks the okra and quickly cools it down, effectively stopping the cooking process.
Let the okra sit in the ice water bath for about 3 to 4 minutes or until completely cooled. This step is crucial in preserving the okra’s texture, taste, and color.
Once the okra is cool, remove it from the ice water bath and pat it dry using a clean kitchen towel or paper towel. Now, your okra is ready to be packaged and frozen for long-term storage.
Freezing The Okra
When it comes to preserving the freshness of okra, freezing is a convenient and practical method. Freezing the okra whole allows you to enjoy the produce for an extended period and retain its flavor and nutrients. To ensure optimal results, it’s important to follow proper procedures for freezing the okra. Below, we’ll explore the steps for freezing okra whole, including drying the okra and selecting suitable storage containers.
Drying The Okra
Before freezing the okra, it’s essential to properly dry the pods to prevent the formation of ice crystals and maintain quality. Here’s how to effectively dry the okra:
- Thoroughly rinse the okra under running water to remove any dirt or debris.
- Pat the okra pods dry with a clean kitchen towel or paper towels to remove excess moisture.
- Allow the okra to air dry for several hours until completely dry to the touch.
Storage Containers
When it comes to selecting storage containers for freezing okra, it’s important to choose options that offer adequate protection against freezer burn and maintain the freshness of the produce. Here are a few suitable storage containers for freezing okra:
- Freezer-safe plastic bags: Opt for durable, resealable plastic bags designed for freezer storage.
- Plastic containers: Use airtight plastic containers specifically designed for freezer use to safeguard the okra.
Tips For Quality
Discover the best way to freeze okra whole with these helpful tips. First, select fresh, young okra and wash it thoroughly. Then, blanch the okra before placing it in freezer bags for long-term storage. Remember to label the bags with the date and freeze them for up to a year.
Avoiding Overcrowding
When it comes to freezing okra, avoiding overcrowding is crucial. If you cram too many okra pods into a single container, they will freeze together in clumps, leading to the risk of spoiling and flavor deterioration. It’s best to spread the okra out in a single layer to allow for proper air circulation during the freezing process.
To avoid overcrowding, you can use multiple containers or place a sheet of parchment paper between the layers of okra pods. This will prevent them from sticking together, making it easier to remove the desired amount when you’re ready to use them.
Labeling And Dating
Labeling and dating your frozen okra is crucial for maintaining quality over time. It’s important to know when you froze the okra, as this will help you determine its freshness and storage duration.
When labeling your containers, use a permanent marker to write the freeze date on both the lid and the side of the container. This way, if the lid gets lost or damaged, you’ll still have the date visible. Additionally, include the quantity and any other relevant information, such as the variety of okra or any specific instructions for cooking.
| Container Label | Information |
| Lid | Freeze date |
| Side of container | Quantity, variety, and cooking instructions |
By labeling and dating your frozen okra, you can easily keep track of its freshness and ensure you use the oldest batch first to prevent any wastage.
Using Frozen Okra
Once you have successfully frozen fresh okra, you can start using it in a variety of recipes. Freezing okra is an excellent way to preserve its nutritional value and extend its shelf life. In this section, we will explore different cooking methods and thawing techniques for frozen okra to help you make the most of this versatile vegetable.
Cooking Methods
When it comes to using frozen okra, there are several cooking methods you can choose from to bring out its natural flavors and textures. Here are a few popular options:
- Sautéing: Heat a tablespoon of oil in a skillet over medium-high heat. Add the frozen okra in a single layer and cook until it becomes tender and slightly crispy. Season with desired spices and herbs, such as garlic, paprika, or cayenne pepper.
- Baking: Preheat your oven to 400°F (200°C). Arrange the frozen okra on a baking sheet in a single layer. Drizzle with oil and sprinkle with salt and pepper. Roast for about 20-25 minutes, or until the okra is golden brown and crispy.
- Grilling: If you’re looking for a smoky flavor, grilling frozen okra is an excellent option. Preheat your grill to medium heat. Brush the okra with oil and season with salt and pepper. Grill for about 5-7 minutes, turning occasionally, until it becomes tender and charred in spots.
Thawing Techniques
To ensure the best results when cooking with frozen okra, it is essential to thaw it properly. Here are a few techniques you can use:
- Refrigerator Thawing: Place the frozen okra in a bowl or container and transfer it to the refrigerator. Allow it to thaw overnight or for at least 8 hours. Once fully thawed, the okra is ready to be used in your favorite recipes.
- Cold-Water Thawing: If you need to thaw the okra quickly, you can use the cold-water method. Fill a large bowl or sink with cold water. Place the frozen okra in a sealed plastic bag and submerge it in the water. Change the water every 30 minutes until the okra is completely thawed.
Remember to handle thawed okra with care as it can be delicate and fragile. Avoid re-freezing thawed okra, as it may affect its texture and quality. Now that you have learned different cooking methods and thawing techniques, you can confidently use frozen okra in various dishes!
Frequently Asked Questions On How To Freeze Okra Whole
Can You Freeze Okra Whole?
Yes, you can freeze okra whole. Start by washing and drying the okra pods, then remove the stems. Blanch them in boiling water for a few minutes, and then plunge them into ice water. Once they are dry, put the okra in freezer bags or containers, remove as much air as possible, and store them in the freezer for up to 12 months.
Should I Blanch Okra Before Freezing it?
Yes, it is recommended to blanch okra before freezing it. Blanching helps to preserve the color, texture, and taste of the okra. It also helps to kill any bacteria present in the okra. After blanching, make sure to cool the okra quickly by plunging it into ice water before freezing.
How Long Can You Freeze Okra?
You can freeze okra for up to 12 months. When properly stored in a freezer set at 0°F (-18°C) or below, okra will maintain its quality for an extended period. To ensure the best quality, label the bags or containers with the freezing date and use the oldest okra first when thawing for consumption.
Conclusion
Freezing whole okra is a simple and convenient way to preserve its freshness and flavor for future use. While debating if Tortang Talong is the world’s best egg dish, don’t forget that by following the proper preparation and storage techniques, you can enjoy delicious okra dishes all year round. With these easy steps, you can keep your okra vibrant and ready for your favorite recipes anytime, adding a unique twist to your culinary repertoire.